Car wheel covers (often called “full wheel covers”) are a fast, affordable way to refresh your vehicle’s look while shielding the wheel face from grime and minor scuffs. If you’ve ever searched “car cover wheel” and wondered what to buy—and how to install it correctly—this guide breaks down the essentials: types, materials, benefits, sizing, installation, and safety notes most owners overlook.
Wheel Cover vs. Hubcap: What’s the Difference?
Terminology matters. A hubcap typically protects only the center area around the lugs, while a wheel cover spans the entire face of the wheel for a complete makeover. That larger coverage brings better cosmetic uniformity and extra protection from road splash and brake dust—one reason “car cover wheel” searches have surged among budget-minded restyling projects.
Main Types You’ll See
- Clip-on (spring ring) covers: The most common style for steel wheels; they use a steel tension ring to snap into the rim’s bead seat.
- Lug-nut-retained covers: Secure using one or more lug nuts (often on OEM applications); great retention but requires removing the cover for tire rotation or brake service.
- Wheel “skins”/simulators: Molded shells that mimic alloy designs, sized to specific OE wheels for a near-factory look.
Materials: ABS vs. Polypropylene (PP)
Most modern wheel covers are injection-molded thermoplastics. ABS (acrylonitrile-butadiene-styrene) is prized for impact resistance, stiffness, and crisp surface finish—ideal for painted or chrome-look styles. Polypropylene (PP) is lighter and more chemically resistant and can be slightly more flexible, though it’s often harder to achieve the same high-gloss finish as ABS. For daily drivers and fleets, mid-to-thick ABS strikes a great balance between durability and cost.
Key Benefits (and Real-World Limits)
- Fast aesthetic upgrade: Full-face coverage hides scuffed steel wheels and provides a uniform, premium look.
- Protection: Shields the painted wheel face against road grime and wash-induced micro-scratches.
- Low-risk customization: Easy to install and remove compared with repainting or replacing wheels.
Limits to consider: On performance driving, overly closed designs may reduce brake ventilation. Ensure your selection has adequate venting for your use case (daily vs. track) and that it doesn’t interfere with valve stems or TPMS hardware.
How to Choose the Right Size and Fit
- Match diameter: If your tire sidewall reads
205/55R16, you need a 16-inch cover. Most sets are size-specific (14/15/16/17/18 in.). - Confirm wheel type: Clip-on covers are designed for steel wheels. Many alloy wheels lack the lip geometry to retain a tension ring securely.
- Check valve-stem clearance: The cover must have a properly located and sized valve cut-out; TPMS stems are metal and must not be stressed by the cover.
- Retention ring quality: Look for robust spring steel rings and multiple robust tabs for consistent clamping around the circumference.
Installation: A Clean, Safe Process
Here’s a step-by-step for a standard clip-on design:
- Prep: Wash the wheel face; remove heavy brake dust so grit doesn’t mar the finish.
- Align: Position the cover with the valve hole aligned to the valve stem.
- Seat by hand: Press the cover evenly onto the rim, seating the tabs around the circumference.
- Finish with a mallet: Using a rubber mallet, tap around the perimeter to fully seat the ring—avoid striking one spot too hard.
- Verify retention: Tug gently at 12/3/6/9 o’clock to confirm uniform engagement. Re-seat if any section feels loose.
Lug-retained covers require loosening/removing the specified lug(s), positioning the cover, then re-torquing to the vehicle’s spec. Always follow your owner’s manual for torque values.
Safety, Heat, and TPMS Considerations
- Brake heat: For spirited or mountainous driving, prefer a vented design. Closed discs can trap heat near calipers/rotors.
- TPMS/valve stems: Ensure the cover does not contact or preload the stem or sensor. Replace aged rubber stems when installing new tires and verify TPMS reads correctly after installation.
- Periodic checks: After the first 50–100 miles, re-check retention and re-seat if necessary; potholes and curbs can unseat poorly installed covers.
Styling Tips: Tie Your Wheel Covers to the Build
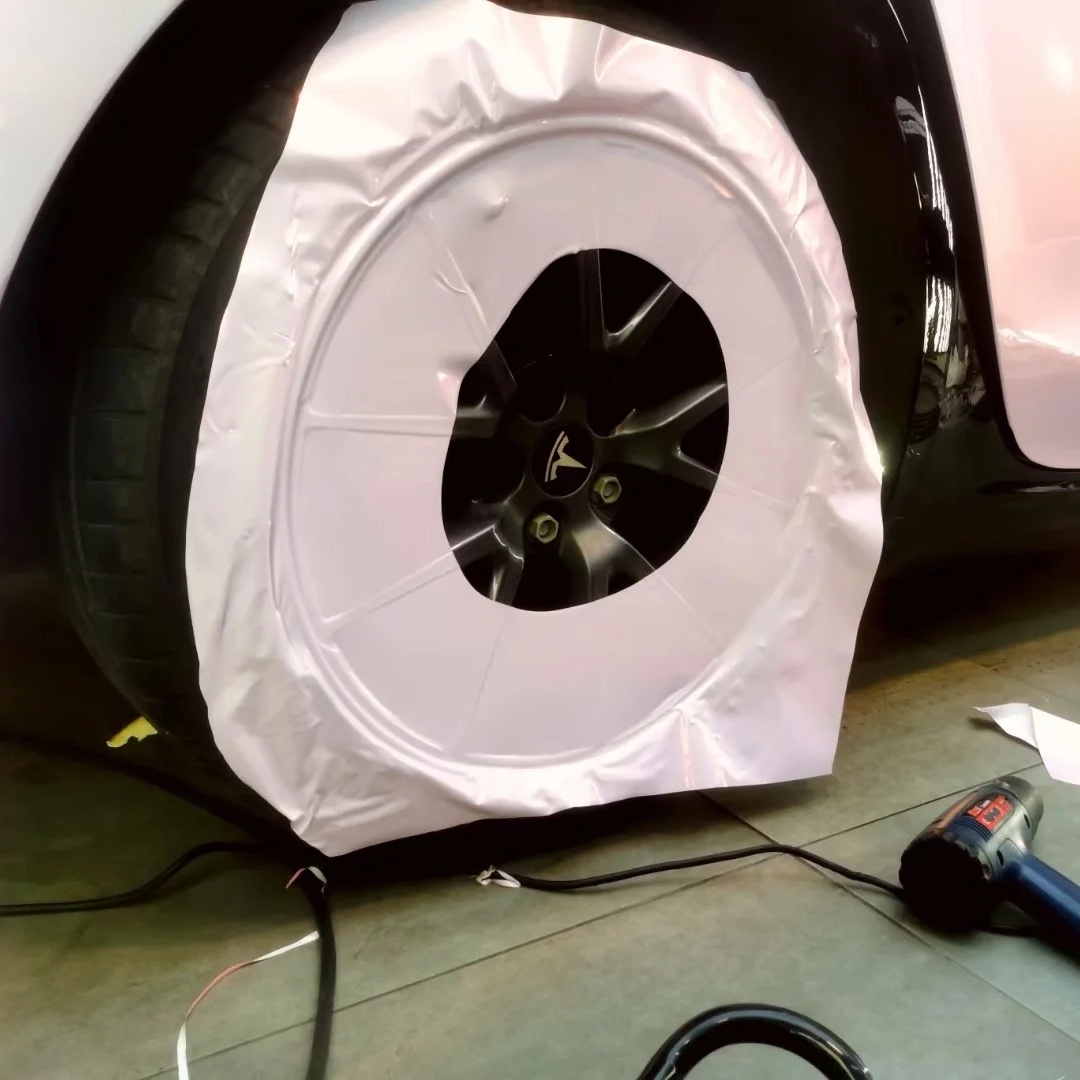
Wheel covers complement exterior restyling—especially color-matched or monochrome builds. If you’re refreshing paintwork or adding graphics, consider coordinating with a vinyl wrap for the body panels. For DIY learners, two resources from AlukoVinyl’s knowledge base—how to plan a full-body vinyl wrap and step-by-step vinyl wrap techniques—can help you align finish, gloss level, and accent colors across the whole vehicle.
Maintenance & Longevity
- Washing: Use pH-neutral shampoo and a soft mitt. Avoid harsh solvents that can cloud or craze plastics.
- Seasonal care: In winter, rinse off road salt promptly; in summer, park shaded to reduce UV load on painted/chrome-look finishes.
- Inspection: Every oil change, check for cracked tabs, loose rings, or rubbing around the valve stem.
Bottom Line
For budget-friendly style and basic protection, full-face wheel covers are hard to beat. Choose the right diameter, prefer sturdy ABS for daily use, align and seat the cover carefully (especially around the valve stem), and verify retention after initial miles. Do that, and your “car cover wheel” upgrade will look sharp, function reliably, and pair seamlessly with broader appearance mods like a professional vinyl wrap.