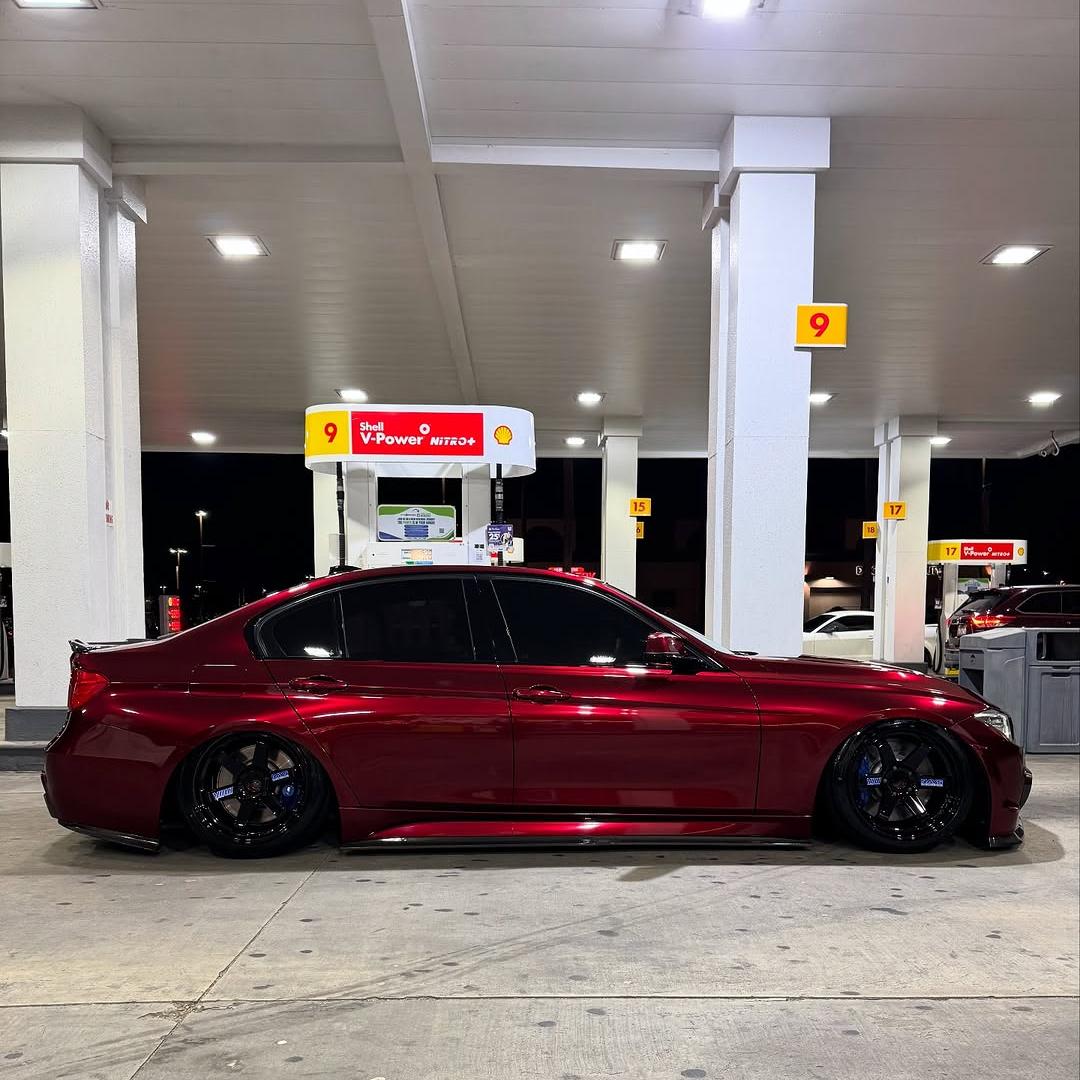
If you’re aiming for a mirror-like “liquid metal” look, the liquid dragon blood red wrap delivers that deep, candy-red gloss with dimensional highlights. This hands-on guide distills pro-installer methods and manufacturer instructions into a practical process you can follow in your shop or garage. We’ll cover environment control, surface prep, panel planning, squeegee technique, precision cutting, and post-heating for durable, glassy results.
Before you begin, review trusted application references from leading film makers. They consistently emphasize clean substrates (70% IPA final wipe), moderate shop temperatures, controlled stretching, knifeless cutting instead of blades on paint, and proper post-heat of stretched areas to lock memory and boost gloss.
Tools & Materials Checklist
- Felt-edge squeegee, wrap gloves, heat gun, and an IR thermometer (to verify film and substrate temps during post-heat).
- Knifeless tape (Finish Line/Perf Line) for seams, emblem areas, and relief cuts—protects paint vs. knife cutting.
- Lint-free microfiber towels, clay bar (optional), and a 70% isopropyl alcohol + 30% water solution for final decontamination.
Control the Environment
Work indoors with stable temperatures. Major wrap makers recommend an installation environment and vehicle surface temperature roughly in the 18–24 °C / 65–75 °F range for consistent tack and safe handling; use an IR thermometer to confirm surface temps.
Surface Preparation (Showroom-Clean Paint)
- Wash and dry thoroughly; remove tar/iron fallout if needed. Clay bar helps lift embedded contaminants.
- Final wipe: mist towels with a 70% IPA / 30% water mix and wipe every wrapable surface, replacing towels as they soil. This step eliminates oils that can cause lifting or bubbles.
- Degrease edges, inside door shut returns, and recesses—these high-stress zones benefit most from squeaky-clean prep.
Panel Planning for the “Liquid” Look
Pre-measure and pre-cut panels, note film “grain”/flake orientation, and dry-fit complex areas (bumpers, mirrors). Keep stretch to a minimum to maintain color density and gloss uniformity; apply even tension when you must stretch.
For badges, trims, and color-change seams, lay knifeless tape before you place film so you can make accurate, paint-safe cuts afterward.
Application: High-Gloss Without Texture
- Tack & tension: Anchor the center, then squeegee outwards in overlapping strokes. Avoid point stretching that can dull the gloss or create lines.
- Heat assistance (initial forming): Use gentle, controlled heat to conform into moderate curves; manufacturers suggest film temps around 40–55 °C during forming for better conformability on complex sections.
- Corners & recesses: Bridge, warm, and feed film into the recess with the squeegee rather than pushing hard or over-stretching. Add relief cuts only where necessary (prefer knifeless).
- Protective cap films: If your wrap includes a protective cap layer, leave it on during installation to avoid surface marring—but remove it before post-heating.
Post-Heating: Lock Memory & Maximize Gloss
After panels are down and edges re-squeegeed, allow 30–45 minutes for adhesion build-up, then post-heat stretched/complex areas. Many authoritative guides specify ~80–100 °C (175–212 °F) for post-heat, and some product lines call for ~93–107 °C (200–225 °F). Always verify with an IR thermometer and follow your film’s data sheet.
Thorough, even post-heating not only stabilizes edges and recesses but can also help achieve the highest possible gloss level on premium gloss films.
Precision Cutting & Finishing
Use knifeless tape to reveal seams, around emblems, and along rubber moldings—pull the filament back (not up) along the cut line for the cleanest edge, then re-squeegee all critical areas.
Care & Maintenance
Hand-wash only for the first few days, avoid harsh chemicals, and use pH-neutral soaps going forward. If considering ceramic coatings, note that some manufacturers exclude coatings from warranty coverage—test and approve on a small area first.
Choose the Right Dragon-Red Finish
Want to explore more finishes or compare red tones? Start with these resources: vinyl wrap, red car wrap, gloss red wrap, dargon scale red wrap.
Quick Reference: Temperatures & Prep
| Step | Pro Guidance | Source |
|---|---|---|
| Shop / surface temp | Keep vehicle & room ~18–24 °C (65–75 °F) for consistent handling. | ORAFOL practical guides. |
| Final clean | 70% IPA / 30% water, lint-free towels; re-wipe edges and recesses. | 3M vehicle prep. |
| Forming heat | Gentle heat for conformability; target ~40–55 °C film temp on curves. | Avery tech bulletin. |
| Post-heat (stretched zones) | ~80–100 °C typical; some systems 93–107 °C—measure with IR thermometer. | Avery & 3M bulletins. |
| Cutting on paint | Use knifeless tape; pull filament back along the cut line. | 3M Knifeless Tape guide. |
Bottom Line
A flawless ultra-glossy liquid dragon blood red wrap comes down to disciplined prep, smooth squeegee mechanics, paint-safe cutting, and verified post-heat. Control the environment, clean with 70% IPA, minimize stretch, cut with knifeless tape, and lock the finish with measured heat—your reward is that wet, candy-red mirror look that turns heads for years.