Updated for 2025 • A practitioner’s guide to choosing, applying, and maintaining a PPF coat with professional shop standards—or doing it yourself with confidence.
What Exactly Is a PPF Coat?
A PPF coat (paint protection film coating) is a transparent or tinted thermoplastic urethane layer applied to painted surfaces to absorb impact, resist chemical staining, and self-heal minor swirls when warmed. Unlike a vinyl wrap that primarily changes color/finish, PPF is engineered first for protection and longevity, with optical clarity, elastomeric recovery, and hydrophobic topcoats to ease washing.
Professional vs. DIY: Quick Comparison
| Factor | Professional Install | DIY Install |
|---|---|---|
| Learning curve | Handled by trained techs; consistent results | Moderate–steep; practice on small panels first |
| Templates & cutting | Access to plotter-cut patterns; minimal blade use | Pre-cut kits recommended; avoid hand-cutting on paint |
| Time | Full front: ~3–6 hours | Full front: ~6–12 hours (with breaks) |
| Defect rate | Low; shop QC & warranty | Higher initially; improves with experience |
| Cost | Higher upfront, includes labor & shop guarantees | Lower labor cost; tools and extra film add up |
| Warranty path | Documented; shop support for issues | Varies; DIY must follow care schedule precisely |
If your vehicle is new or high-value, a professional install offers the most predictable finish. If you’re detail-oriented with patience and plan to protect a daily driver, DIY can be rewarding—especially with pre-cut kits and smaller sections.
Surface Prep & Environment
Clean room mindset
Dust is the enemy of any PPF coat. Work indoors at 18–24 °C (65–75 °F) with minimal airflow. Use bright, cross-lighting to reveal contamination and stretch marks.
Decontamination steps
- pH-neutral wash and rinse.
- Iron fallout remover (as needed), rinse thoroughly.
- Clay the surface with plenty of lubricant.
- Wipe with 70% IPA panel prep (no silicones or waxes left behind).
Tools, Solutions & Templates
Installation solutions
- Slip: distilled water + baby shampoo in a fine-mist sprayer.
- Tack: distilled water + isopropyl alcohol for edge anchoring.
Essential tools
- Soft-edge squeegees (varied durometers), microfiber towels.
- Heat gun or IR lamp for post-heat and contouring.
- Spray bottles with fan and mist nozzles.
- Plotter pre-cuts or panel-specific kits to avoid knife work.
Material choices
Choose between clear PPF wrap for invisible protection or explore finishes and colors via colored PPF for a protective style upgrade. For an overview of film families, visit our ppf coat category.
Step-by-Step Installation Workflow
1) Test fit & orientation
Pre-spray the panel and adhesive side with slip solution. Float the film into place, aligning reference points (hood vents, emblem centerlines, body creases).
2) Anchor the center
Use short, overlapping squeegee strokes from the center outward. Keep the surface wet to avoid friction marks. Switch to tack solution where edges need immediate bite.
3) Work contours in zones
Warm stubborn curves slightly and “feed” material—avoid overstretching. If fingers form near edges, lift back to the last set area, re-wet, and re-lay with heat and tension control.
4) Edge management
Wrap edges where designs allow. Squeegee from film to paint to purge solution. If a seam is required, use factory body lines to hide transitions.
5) Final passes
Use a soft squeegee edge and light pressure to chase micro-bubbles. Inspect under different angles of light.
Curing, Edges & Post-Heat
After installation, allow the PPF coat to settle. Post-heat edges and complex curves to the manufacturer’s recommended temperature so memory is reset and lift risk is reduced. Avoid washing for 48–72 hours.
Quality Checks & Common Mistakes
What “good” looks like
- Even gaps, hidden seams, tight edge wraps.
- No stretch distortion around badges or vents.
- Minimal silvering; optical clarity in strong light.
- Uniform hydrophobic behavior after full cure.
Frequent errors
- Under-prepped paint (embedded dust shows through).
- Overstretching to chase coverage instead of repositioning.
- Insufficient post-heat on edges and recessed areas.
- Dry squeegeeing causing drag marks or trapped air.
Cost, Time & Warranty Considerations
Professional installs bundle film, labor, controlled environments, and workmanship warranties. DIY reduces labor cost but adds learning time, extra film for practice, and tool purchases. Regardless of who installs, maintain logs of install date, products used, and care schedule to support any warranty claims.
For product selection, browse ALUKO’s ppf coat family or compare finishes alongside traditional vinyl wrap if your priority includes aesthetic changes.
When to Choose Colored vs. Clear PPF
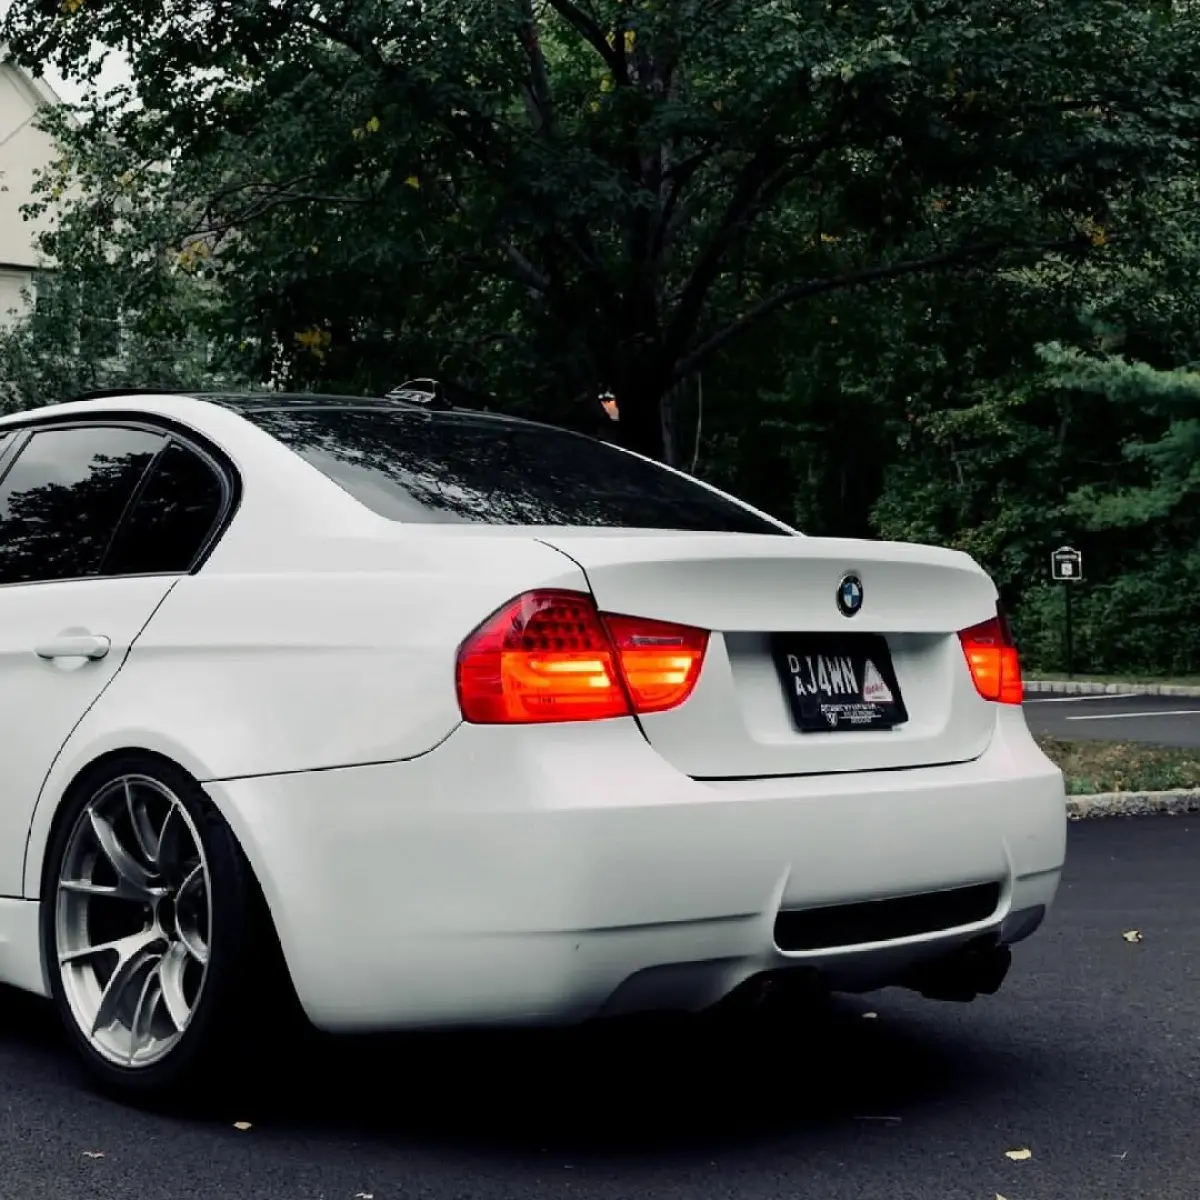
Choose clear PPF wrap if…
- OEM paint tone and metallic flake should remain unchanged.
- Show-car optical clarity is the top priority.
- You want the most “invisible” protection layer.
Explore clear PPF wrap options.
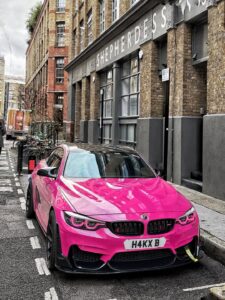
Choose colored PPF if…
- You want color or finish changes with PPF-level protection.
- Matte/satin stealth conversions are desired without paint.
- You’re targeting both style and impact resistance.
See colored PPF collections.
FAQ
How long does a PPF coat last?
Lifespan varies by climate, mileage, and wash routine. With proper care, modern films commonly protect for many years while maintaining gloss and self-healing.
Can I stack ceramic coating on top of PPF?
Yes—after full cure. A compatible coating can boost water behavior and ease cleaning. Always verify the coating is approved for use over PPF topcoats.
Does PPF affect paint warranty?
When installed on fully cured OEM paint and removed correctly, PPF is designed to be reversible. Follow brand-specific guidance for fresh resprays.
What should beginners install first?
Mirror caps, headlights, door cups, and the hood’s leading edge are the most forgiving. Graduate to bumpers after practicing tension and edge work.
Next Steps
Ready to choose your film? Compare our ppf coat lineup, keep your OEM look with clear PPF wrap, or go bold with colored PPF. If aesthetics are your starting point, explore finishes across our vinyl wrap catalog and match them to your protection goals.