Last reviewed: April 2026
Choosing vinyl wrap for cabinets is no longer a fringe DIY idea. In 2026, it sits right in the middle of a bigger renovation shift: homeowners still want kitchens, bathrooms, laundry rooms, and storage spaces to look modern, but many do not want the cost, demolition, and disruption of replacing perfectly usable cabinetry. That makes cabinet wrapping especially relevant. It is a finish-first upgrade, not a structural rebuild, and when it is planned well, it can produce a clean, contemporary result that feels far more expensive than its installation process suggests.
The market context makes this even more important. According to the 2025 U.S. Houzz Kitchen Trends Study, the median spend on kitchen remodels reached $60,000, while the broader 2025 Houzz cabinet data found that among homeowners undertaking a partial cabinet upgrade, 55% chose exterior refinishing. NKBA’s 2025 Kitchen & Bath Market Outlook also projected $235 billion in industry revenue, with repair and remodeling forecast to rise 2.6%. Harvard’s Joint Center for Housing Studies added that annual homeowner spending on improvements and maintenance is projected to reach a record $526 billion by the first quarter of 2026. In short, people still want to renovate, but they are becoming more selective about where to spend.
Why Vinyl Wrap for Cabinets Makes Sense in 2026
It fits the “surface renewal” renovation mindset
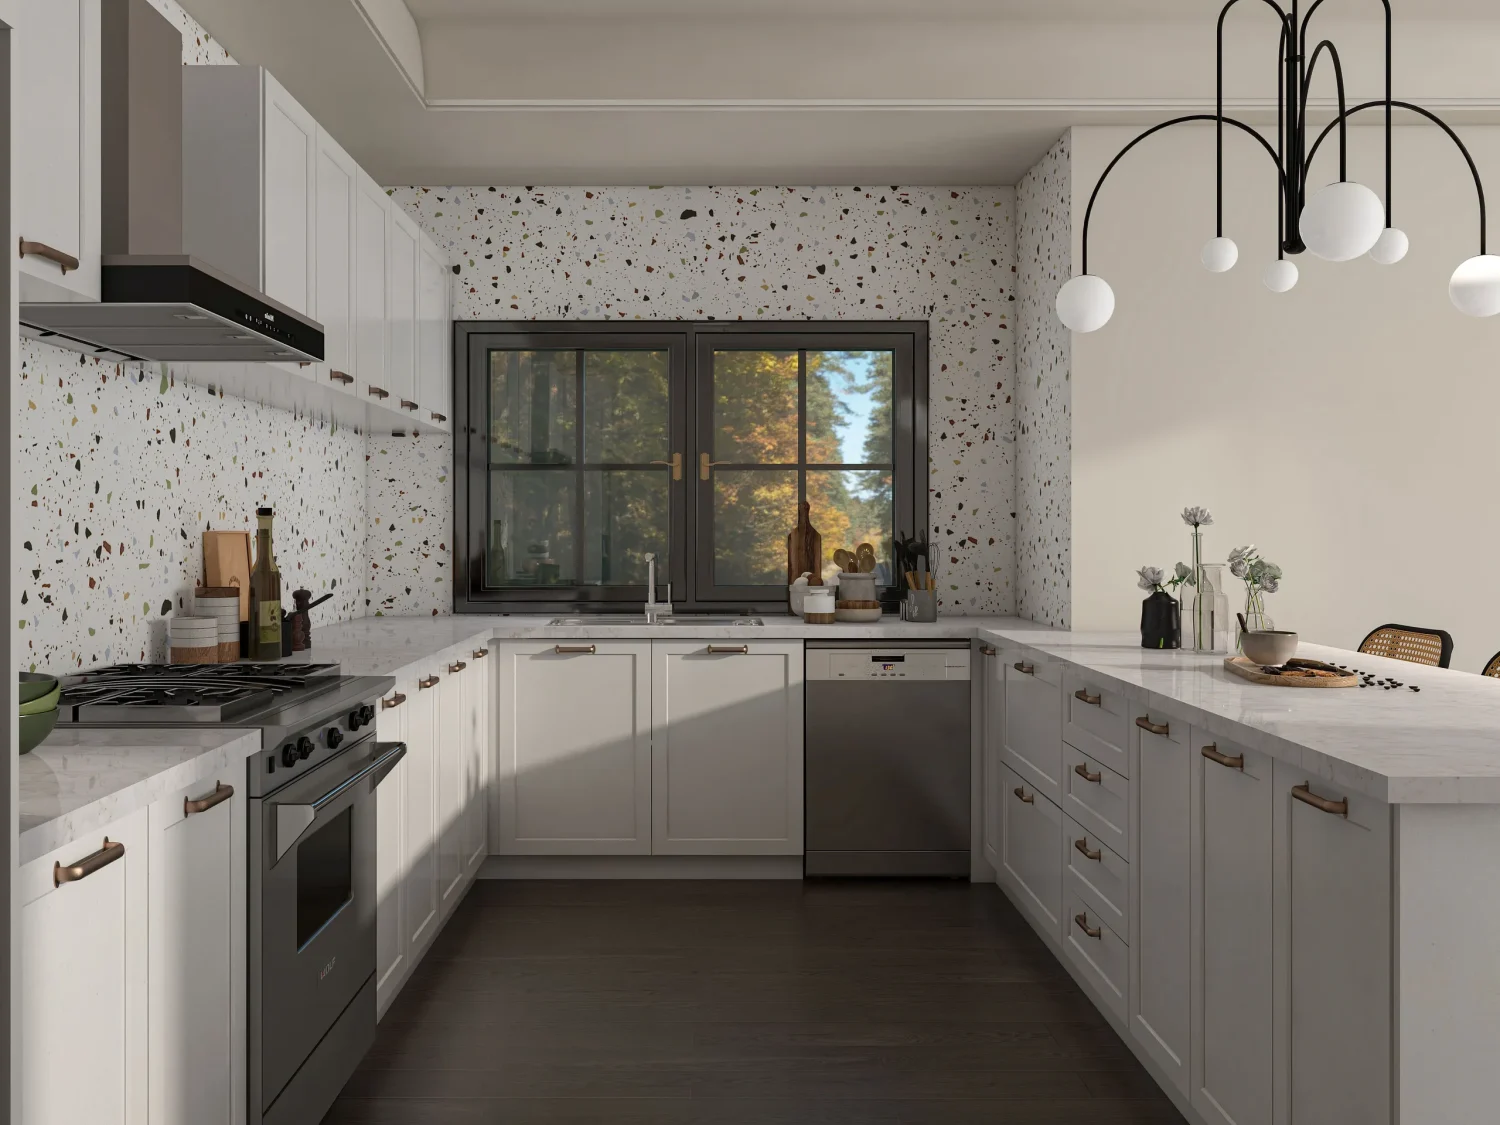
Not every home needs full cabinet replacement. In many cases, the cabinet boxes are still strong, the layout still works, and the only real problem is appearance. Doors may look dated, the finish may feel tired, or the room may no longer match the homeowner’s style. This is exactly where vinyl wrap for cabinets becomes useful. It changes the visible surface without forcing a full rebuild.
It gives homeowners more finish flexibility
One of the biggest advantages of wrapping is the range of finish directions. Some homeowners want a soft, modern, low-reflection look, while others want a brighter, cleaner, paint-like surface. That is why browsing options such as matte vinyl wrap and gloss vinyl wrap can be surprisingly useful even when the final application is for cabinetry rather than a vehicle. The visual language of film still matters: matte feels quieter and more architectural, while gloss feels crisper and more polished.
Step 1: Decide Whether Your Cabinets Are Good Candidates
Wrap can improve appearance, not structural failure
Before you buy anything, inspect the cabinets honestly. Wrap works best on stable, clean, reasonably smooth surfaces. If the cabinet faces are swollen from moisture, delaminating, badly chipped, or structurally loose, wrapping is not the first solution. It may hide the problem for a short time, but it will not solve it.
Good bones matter more than trendy finish
A dated but structurally sound cabinet is a strong candidate. A damaged cabinet is not. This simple distinction saves a lot of disappointment later.
Step 2: Pick the Right Look Before You Pick the Film
Start with the room, not the roll
Many people begin by browsing products too early. A better approach is to decide how the room should feel first. Should the cabinets look soft and minimalist? Bright and reflective? Neutral and warm? Once you know that, the finish choice gets easier.
Budget matters, but appearance still drives satisfaction
Some buyers begin from a cheap car wrap mindset, meaning they are searching for maximum visual change without paying premium replacement costs. That logic is understandable, but cabinet wrapping should still be treated as a finish decision, not only a price decision. The cheapest material does not always create the cleanest long-term result.
Step 3: Remove Hardware and Prepare the Surface Properly
Prep is where good projects are won
If there is one step that matters more than most homeowners expect, it is preparation. Remove handles, knobs, and any easily detachable hardware. If possible, take doors and drawer fronts off the cabinets and work on flat surfaces. This usually gives you more control and better finishing around edges.
Grease is the hidden enemy
In kitchens especially, cabinet surfaces often carry invisible cooking oils and residue. Even when they look clean, they may not actually be ready for film. Thorough degreasing, drying, and dust removal are essential. A beautiful wrap installed over contaminated surfaces often fails at the edges first.
Step 4: Measure More Carefully Than You Think You Need To
Every panel needs breathing room
Do not cut material exactly to visible face size. Leave enough margin to wrap edges cleanly where appropriate. This gives you a better chance of creating a finished look instead of something that stops abruptly at the border.
Label pieces before installation
If you are working on multiple doors and drawers, label them. That makes reassembly easier and reduces visual inconsistencies in grain direction, sheen, or pattern alignment.
Step 5: Apply the Film With Control, Not Speed
Start from the center and work outward
Once the film is positioned, work gradually instead of trying to force the whole panel at once. A controlled application from the center toward the edges usually reduces trapped air and improves alignment.
Use tension carefully around corners
Cabinet doors are not all flat slabs. Some have profiles, bevels, or routed details that require more patience. Pulling too aggressively can distort the film or create tension that later shows at the edges. Smooth, consistent handling is better than rushing.
Step 6: Choose Matte or Gloss Based on Real Use, Not Just Photos
Matte suits calmer, more design-led interiors
If you want a quieter, more architectural look, matte is often the stronger choice. It reduces reflection and can make cabinet lines feel cleaner and more contemporary. Matte also tends to pair well with warm woods, stone looks, and modern minimalist interiors.
Gloss feels brighter and more “finished” to some homeowners
Gloss is often better when the goal is brightness, visual crispness, and a more polished surface effect. It can help smaller rooms feel lighter and can give simple cabinet faces a more paint-like impression. There is no universal winner here. The best result depends on the room’s light, scale, and the mood you want to create.
Step 7: Trim, Seal, and Reassemble With Precision
Edges determine whether it looks professional
The difference between a decent wrap job and a convincing one often comes down to the edges. Clean trimming, consistent fold lines, and careful handling around corners make a huge difference. Sloppy trimming is what makes cabinet wrapping look temporary.
Reinstall hardware only after the finish settles
Once the panels are complete, reassemble slowly. Check alignment before tightening hardware fully. This is also the time to decide whether new handles or knobs might improve the final result even more.
Step 8: Know Where Vinyl Wrap for Cabinets Works Best
Best applications
Flat or gently profiled cabinet doors, drawer fronts, pantry units, side panels, utility-room storage, and vanity fronts are often strong candidates. These surfaces usually allow the wrap to look intentional and clean.
Less ideal applications
Highly textured surfaces, badly damaged doors, swollen MDF, and areas with intense heat or persistent moisture need much more caution. A wrap is a cosmetic solution, not a repair system.
Why This Method Keeps Gaining Popularity
It gives visible change without full renovation chaos
Homeowners increasingly want upgrades that make the room feel new without making life difficult for weeks. That is one reason vinyl wrap for cabinets has become more attractive. It delivers visible change, but usually with less demolition, less noise, and more control over budget.
It fits how people renovate now
The data supports this. People are still spending, but they are doing so strategically. Surface renewal, partial refinishing, and appearance-driven upgrades all fit that pattern. Cabinet wrap belongs naturally in this conversation.
Common Mistakes to Avoid
Choosing finish before checking surface condition
The nicest film will not fix unstable cabinetry. Always inspect first.
Underestimating cleaning and prep
Grease, dust, and residue are among the most common causes of disappointing results.
Trying to rush complex profiles
Detailed cabinet shapes need more patience than flat-panel doors. If the profile is too deep or awkward, wrapping may not be the smartest path.
Thinking all film behaves the same
Surface film is not one single category. Even broad categories like vinyl wrap cover many different finish behaviors and use expectations. Looking only at color is rarely enough.
Final Thoughts
The real value of vinyl wrap for cabinets in 2026 is that it gives homeowners a practical middle option between doing nothing and replacing everything. It can modernize a room quickly, reduce visual fatigue, and bring older cabinetry closer to current design standards without demanding a full renovation budget.
The key is to treat it seriously. Check whether the cabinets are sound, choose the finish that fits the room, prepare surfaces carefully, and install with patience. When those steps are followed, cabinet wrapping can feel less like a shortcut and more like a smart renovation strategy.
FAQ
Is vinyl wrap for cabinets cheaper than replacing cabinets?
In many cases, yes. It usually costs less because it renews the visible finish instead of requiring new cabinet boxes and doors.
Should I choose matte or gloss for cabinet wrap?
Matte usually suits quieter, more modern interiors, while gloss often feels brighter and more polished. The better option depends on the room and your design goal.
Can vinyl wrap for cabinets look professional?
Yes. When the cabinet surfaces are sound and preparation is handled carefully, the final result can look clean, modern, and highly convincing.